Postman 提供 pre-request-script 功能用于修改 request 之前的请求参数。打开请求,在 Request 区域点击tab ”pre-request-script“,当然 postman 也提供一些现成的示例片段,见右侧 SNIPPETS 区域,下面先介绍示例的含义
示例介绍
1、Get an environment variable
pm.environment.get("variable_key");
//获得环境变量
2、Get a global variable
pm.globals.get("variable_key");
//获得全局环境变量
3、Get a variable
pm.variables.get("variable_key");
//获得一个变量
4、Set an environment variable
pm.environment.set("variable_key", "variable_value");
//设置环境变量
5、Clear an environment variable
pm.environment.unset("variable_key");
//清除环境变量
6、Clear a global variable
pm.globals.unset("variable_key");
//清除全局变量
7、Send a request
pm.sendRequest("https://postman-echo.com/get", function (err, response) {
console.log(response.json());
});
//发送一个请求
使用方法
下面是 “设置环境变量”,“清除环境变量”,以及“发送请求”等脚本的使用方法
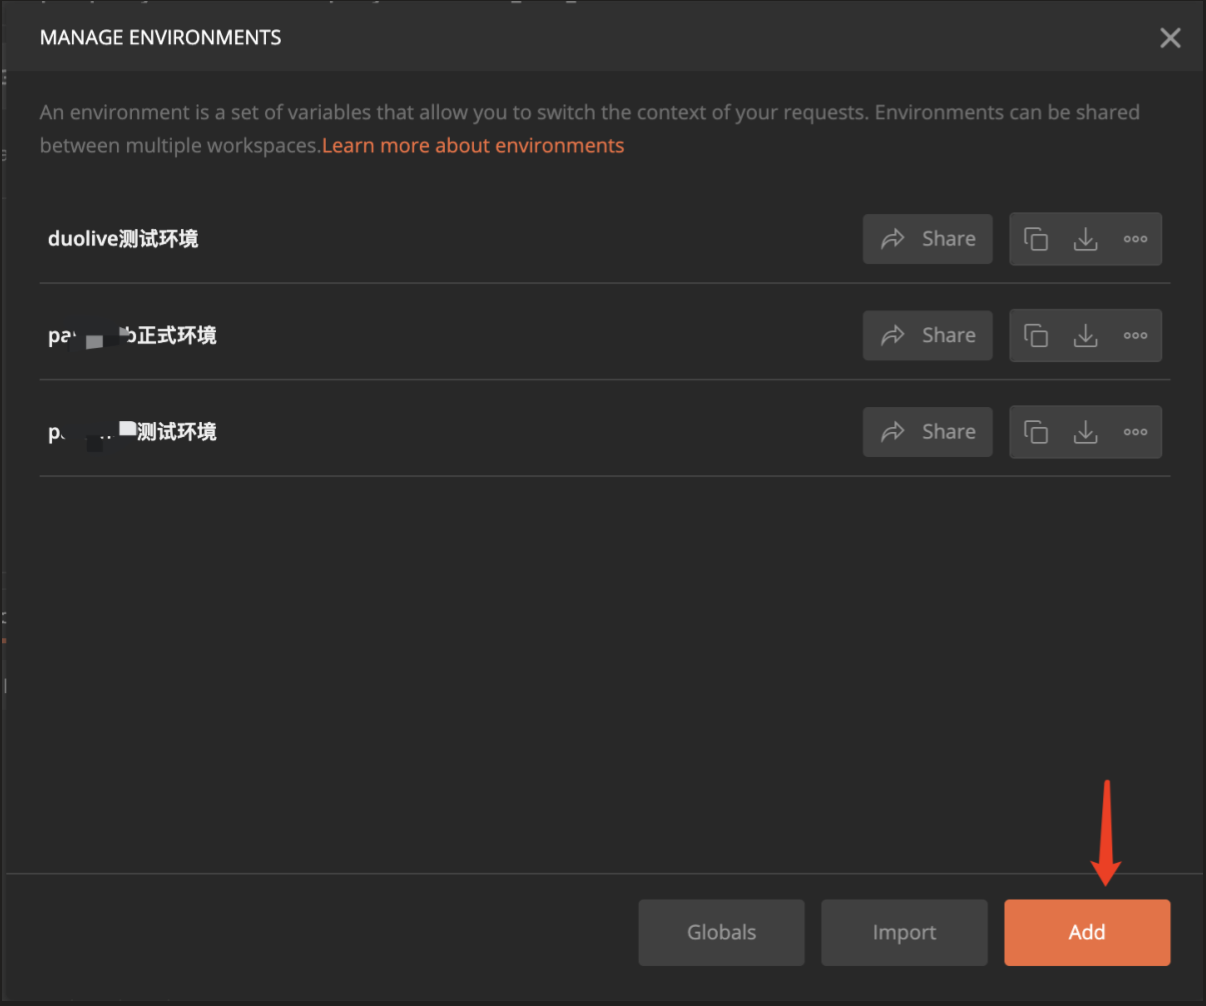
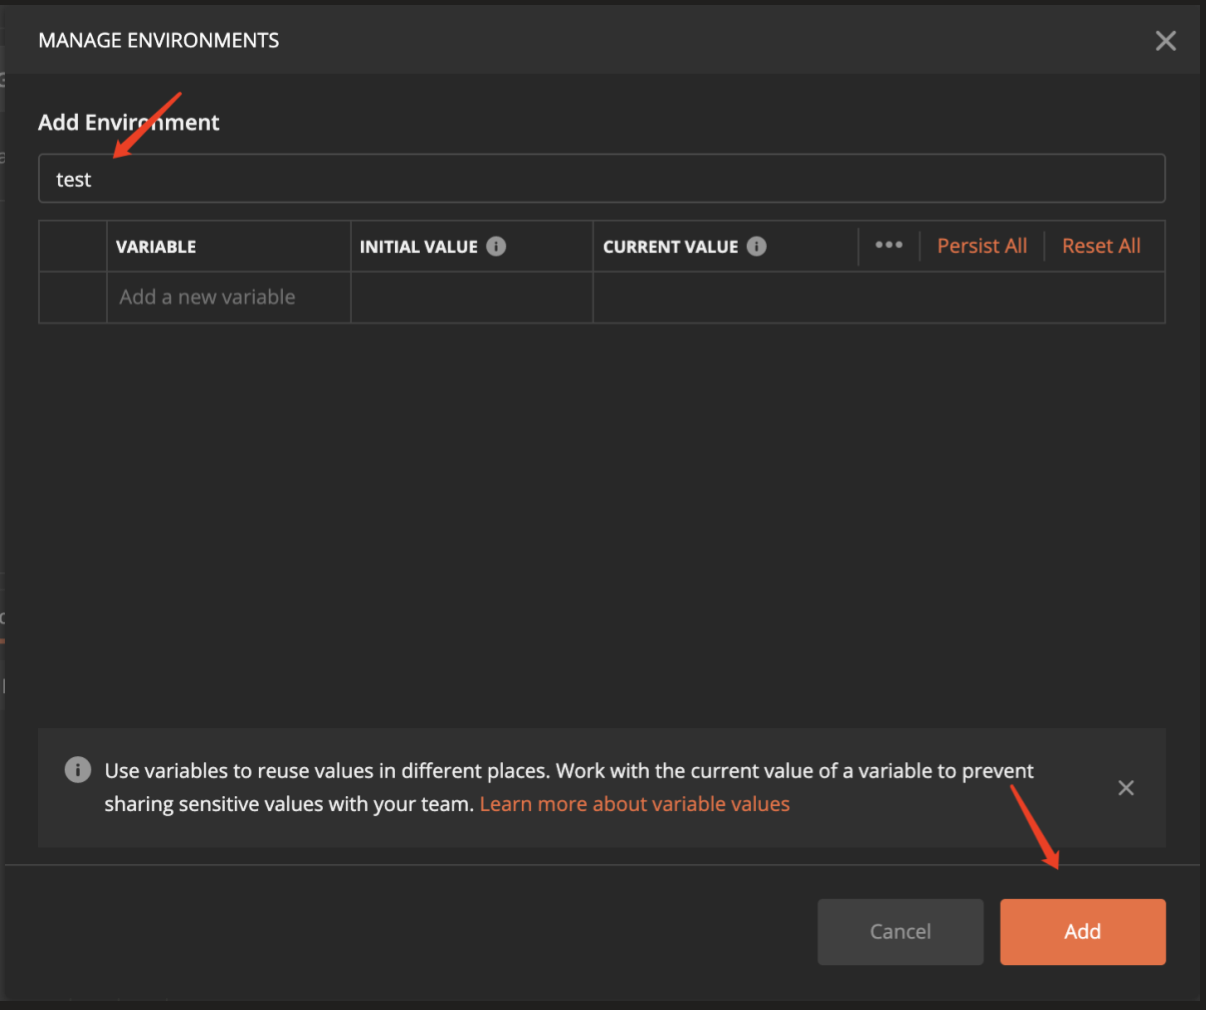
前提
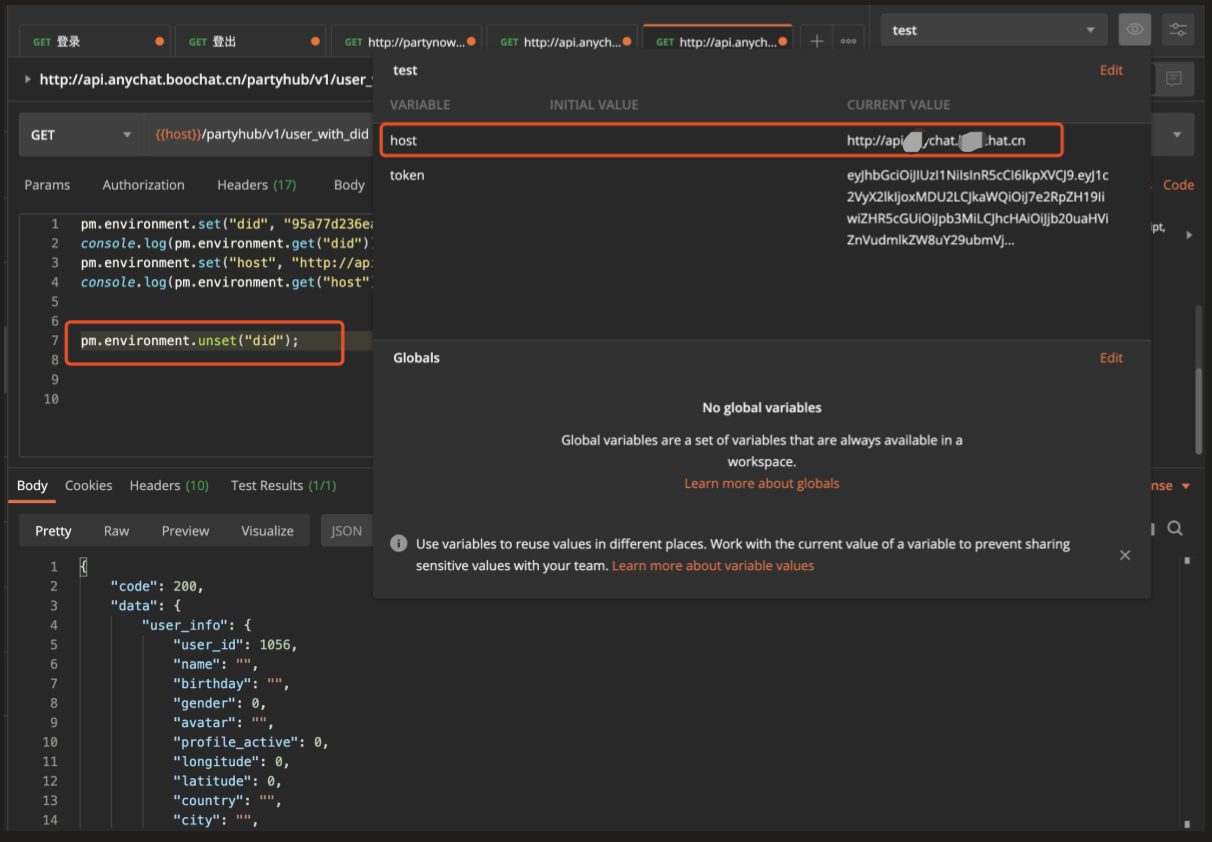
Add一个environment:test,为空,不设置里面的具体值。 并选择该环境变量
设置&清除环境变量
1、打开一个请求的 Request > pre-request-script 页签,填写如下代码设置did和host为环境变量
pm.environment.set("did", "95a77d236eab2cf3ea17ddc19450a2ca");
console.log(pm.environment.get("did"))
pm.environment.set("host", "http://api.anychat.boochat.cn");
console.log(pm.environment.get("host"))
// 设置环境变量did=95a77d236eab2cf3ea17ddc19450a2ca, host=http://api.anychat.boochat.cn 并输出日志
2、在对应的URL或者header处调用设置的环境变量{{host}},{{did}}
3、点击send,点击右上角的眼睛标志,可以看到环境变量已经设置,且依赖最新设置的环境变量,在Response区域返回了结果
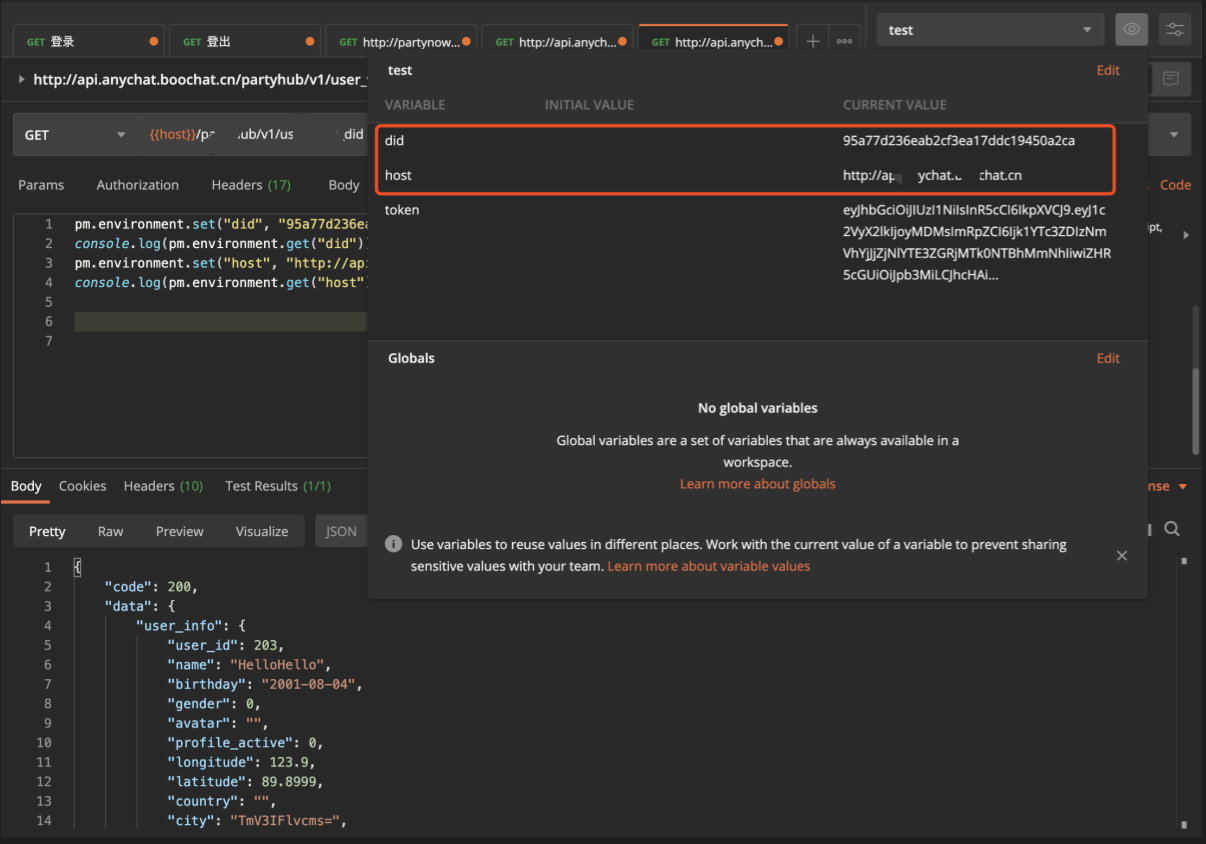
备注:以上的token是由于在tests页签下设置了参数关联
4、增加代码pm.environment.unset("did");再点击send,在查看右上角发现,did使用完又被清除了
发送请求
pm.sendRequest("https://postman-echo.com/get", function (err, response) {
console.log(response.json());
});
使用场景:某一域名下的请求统一去服务器加密等,目前的项目没有这样的需求,不好举例了。等后续有例子了再补充
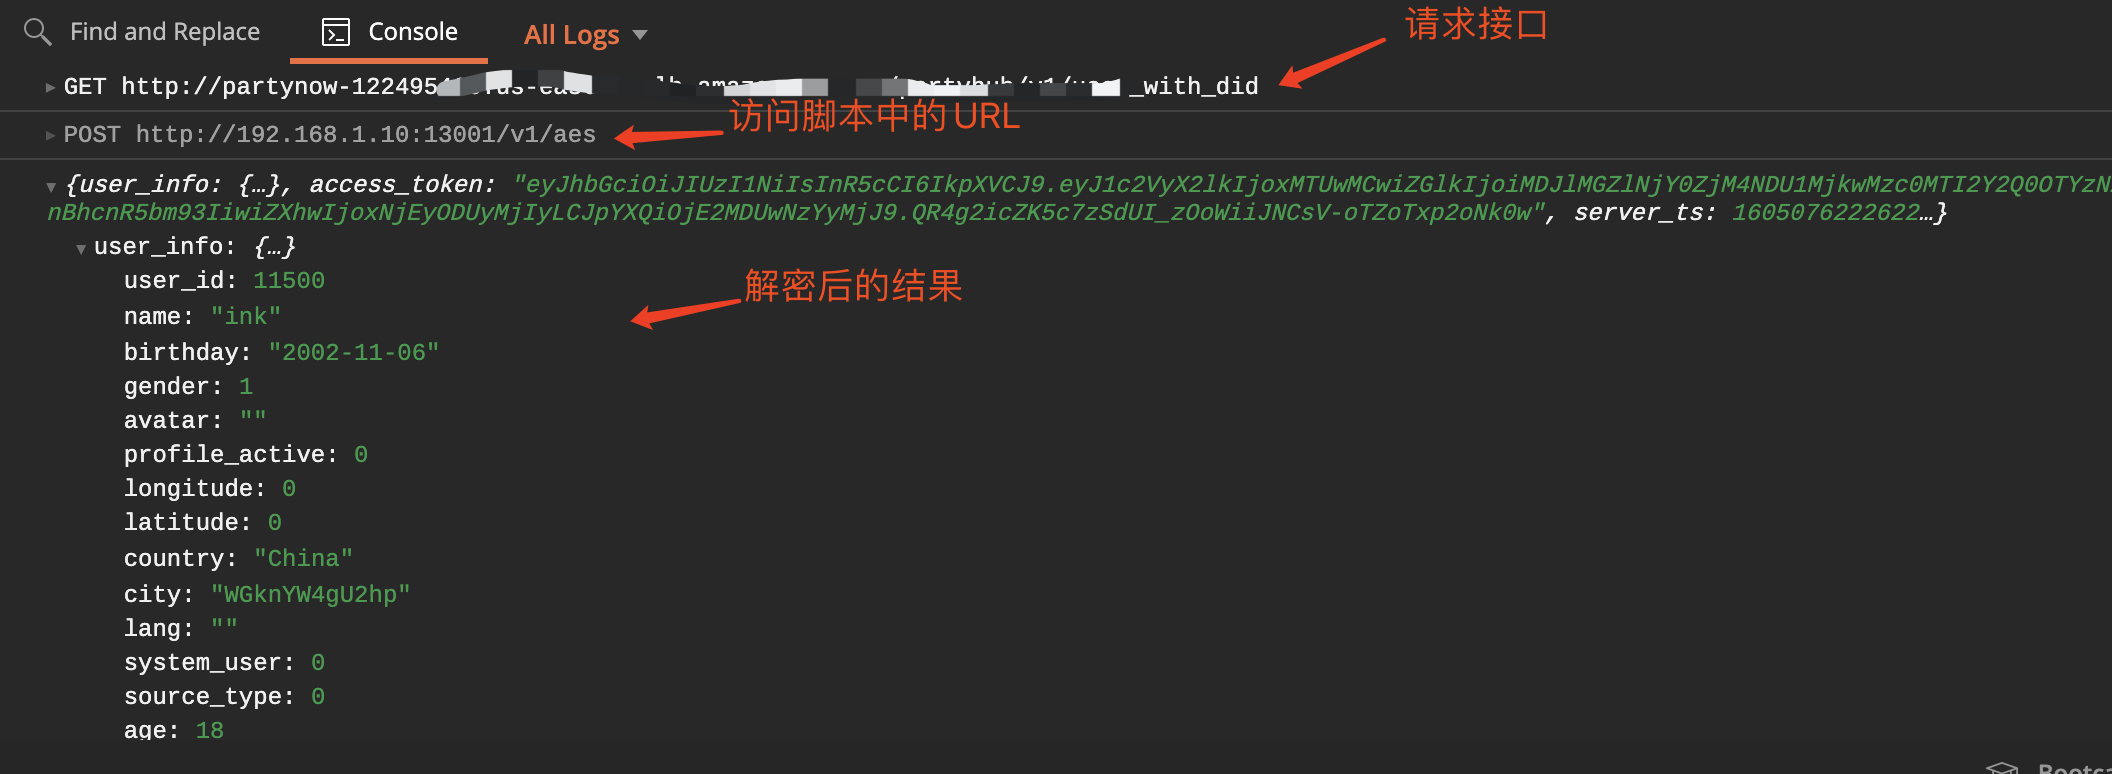
当前项目上有返回结果被加密了,看起来很不方便,返回结果如下所示
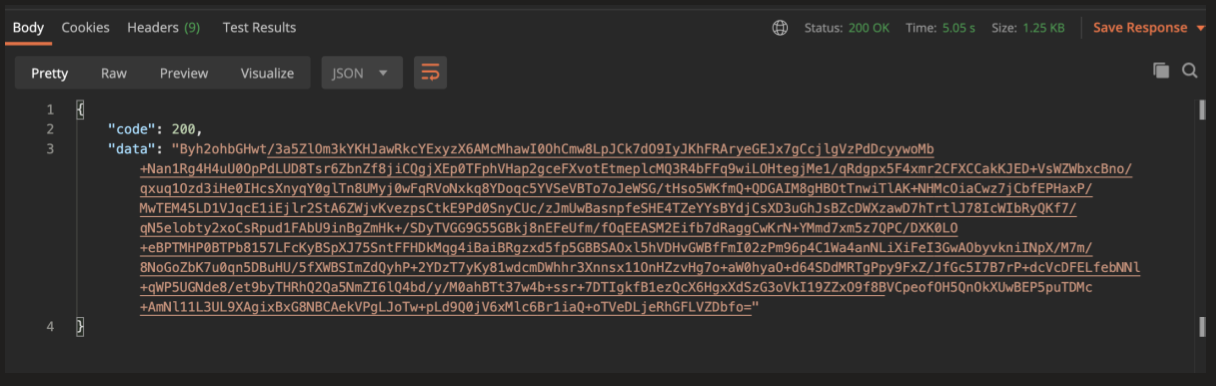
做接口测试的时候,为了看加密的内容,每次都要将加密的值拷贝到一个内部接口里面进行解密。
现在结合send功能,可以做简单的修改。
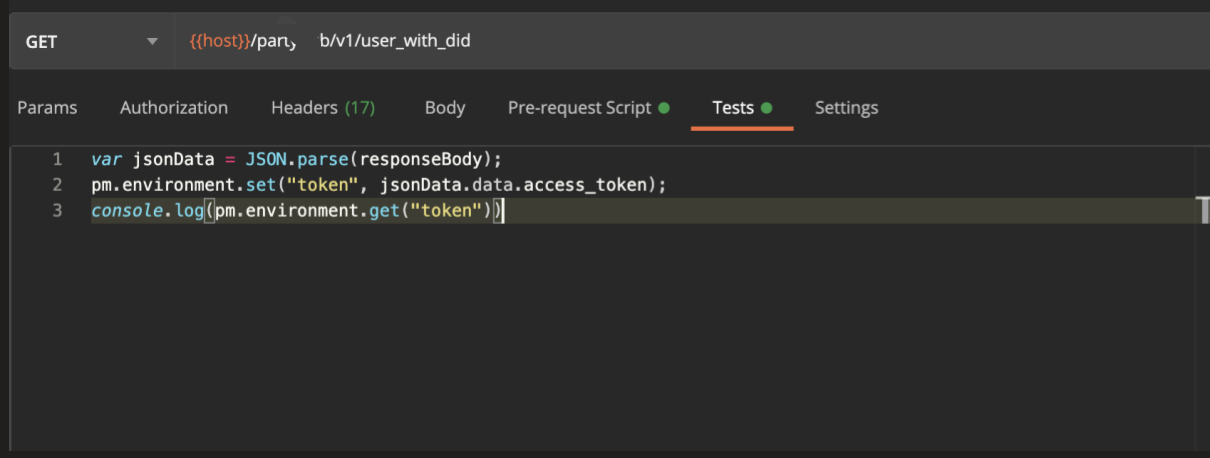
由于想要干预的是返回结果,因此需要在Tests页签上使用该功能(该处主要说明send的功能,如果想要干预请求,则将send脚本放在pre-request-script)
var jsonData = pm.response.json()
const echoPostRequest = {
url: 'http://192.168.1.10:13001/v1/aes',
method: 'POST',
header:'Content-Type:application/json',
body: {
mode: 'raw',
raw: JSON.stringify({"t":"decode","data": jsonData.data})
}
};
pm.sendRequest(echoPostRequest, function (err, res) {
console.log(err ? err : res.json());
});
运行后,可以看到解密的数据展示在了console中(要是能直接展示在Response区域就更好了)
批量pre-request-script
同批量执行Tests的方法一样,见上文